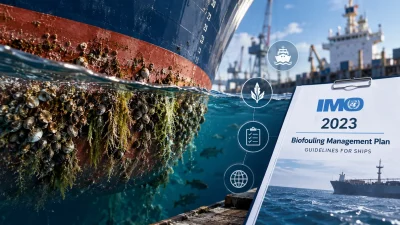


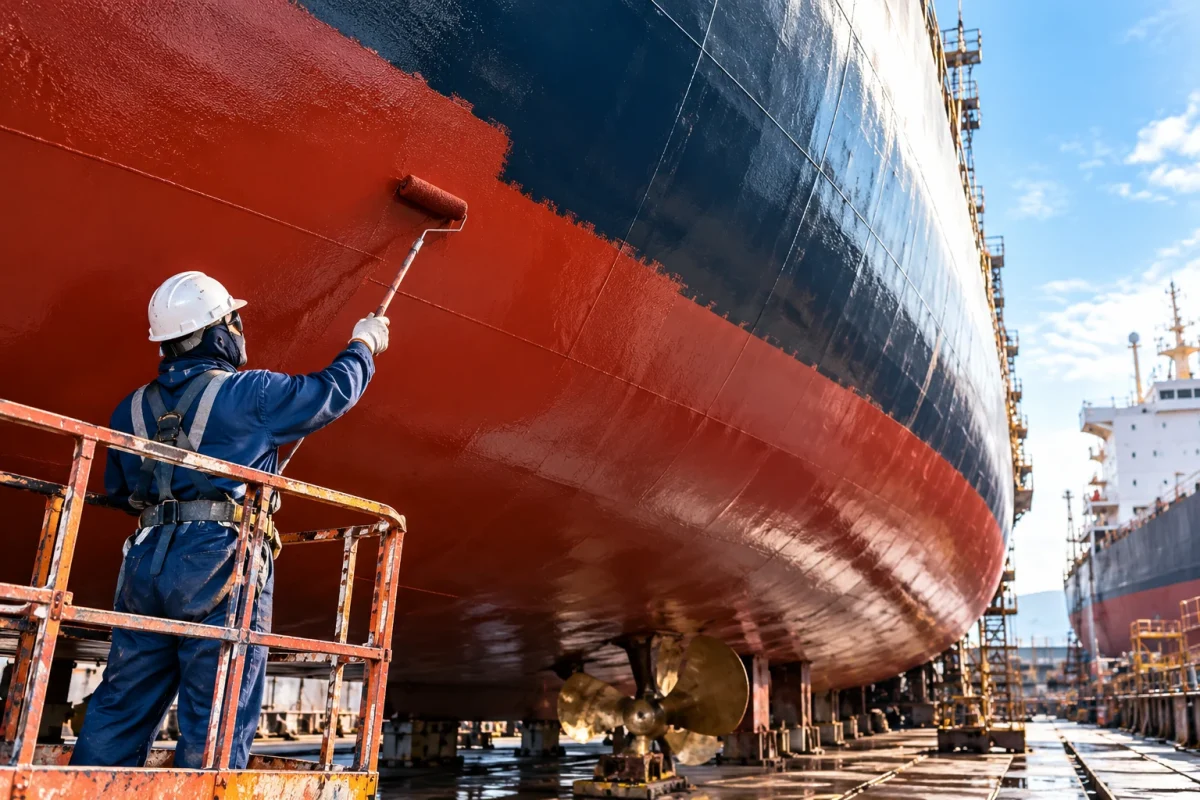
A ship leaves dry dock with a fresh hull, and within months slime and barnacles can cost it speed and fuel. Most of that damage can be traced back to a few mistakes made during the dry-docking period. Good antifouling paint application is mostly a matter of discipline: clean steel, correct film thickness and respect for every drying time.
This guide gives superintendents, ship managers and buyers in the UAE and Oman eight clear steps, from hull wash to launch. It shows how to apply antifouling paint on a commercial ship, and which checks stop expensive repeat work.
Antifouling paint application: the short answer
Antifouling paint application is the final coating stage of a dry-docking. The hull is washed and prepared, damaged areas are repaired, an anticorrosive system and tie coat are applied, and then edges get a stripe coat. After that, two or more full antifouling coats are sprayed within the recoat window, thickness is checked and the ship is launched after the minimum drying time.
- Who it is for: commercial ships, tugs and workboats in dry dock.
- Biggest risk: wrong overcoating time, which causes peeling or poor leaching.
- Always use: the data sheet of the exact product, not a general rule.
Step 1: Wash the hull and survey the old coating
Good antifouling paint application starts with a high-pressure fresh water wash as soon as the dock is drained. It removes slime, salt and loose fouling while they are still soft. Salt left on the steel is one of the main causes of blisters and poor adhesion later.
Then walk the hull with the paint maker’s representative. Mark rust spots, mechanical damage, weld areas and old coating that is loose. This survey sets the scope of the antifouling paint application and decides whether you need spot repair or a full recoat. Our guide on spot repair vs full recoat shows how to choose.
Step 2: Blast and spot repair damaged areas
Surface preparation decides how long your antifouling paint application will last. Where the old coating has failed, remove it. Hydroblasting and abrasive blasting are both used in dry docks. Blast bare steel to the cleanliness grade named in the specification, normally Sa 2.5, and keep the edges of the repair area feathered.
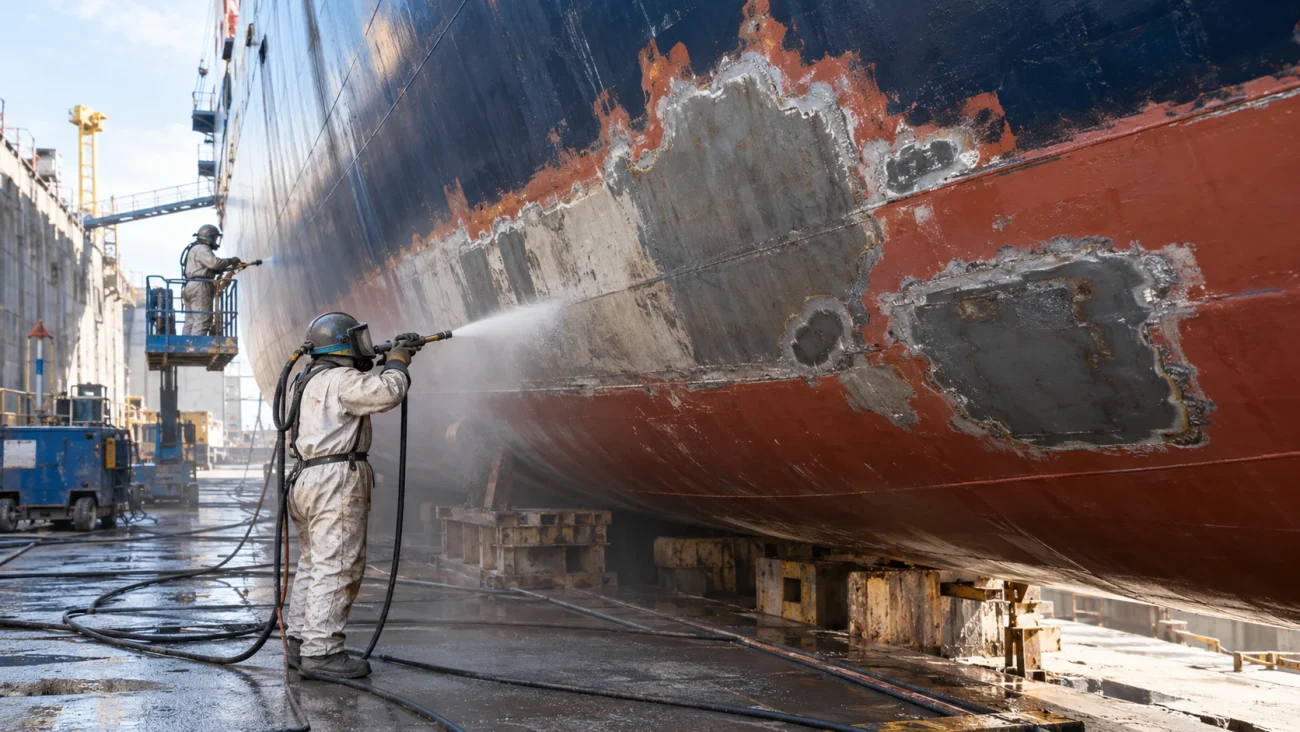
Intact old antifouling can often stay if it is sound, clean and compatible with the new product. Ask the paint maker to confirm compatibility in writing. Old or unknown coatings on the hull should be checked before any new layer goes on.
Step 3: Apply the anticorrosive system and tie coat
Bare steel needs corrosion protection before antifouling. Apply the anticorrosive primer or epoxy system listed in your specification, with the film thickness and overcoating time from the data sheet. The antifouling coat does not protect steel. It only controls marine growth, so an antifouling paint application over bare steel will fail.
Then apply the tie coat if the system calls for one. The tie coat bonds the old or new anticorrosive layer to the antifouling, especially when different paint types meet. Our marine paint consumption guide helps you estimate how much of each layer you need for the hull area.
Step 4: Apply the stripe coat on edges and welds
Paint thins out on welds, edges, bilge keels, rudder and sea chest openings. Brush or roller a stripe coat on these places before the full coats. It adds film thickness where the spray tends to miss, and it protects the antifouling paint application at the points where fouling starts first.
Use a stripe coat in a contrasting colour where the specification allows it. It lets the inspector confirm that nothing was skipped.
Step 5: Apply the antifouling coats
Now the main antifouling paint application begins on the clean, primed hull. Most hulls get two full coats applied by airless spray, often in two colours. The second colour makes missed patches obvious. Check these items before and during spraying:
- Steel temperature at least 3 degrees C above the dew point, or as the data sheet says.
- Relative humidity and wind within the limits for spraying.
- Correct thinner, nozzle and pressure for the product.
- Paint batch numbers recorded for each coat.
For a tin-free polishing system, such as Transocean Cleanship 295 (TO 2.95), the product page describes a self-abrasive surface with controlled leaching and an easy recoat after the service life. Compare it with other chemistries in our antifouling paint types guide.
Step 6: Check wet and dry film thickness
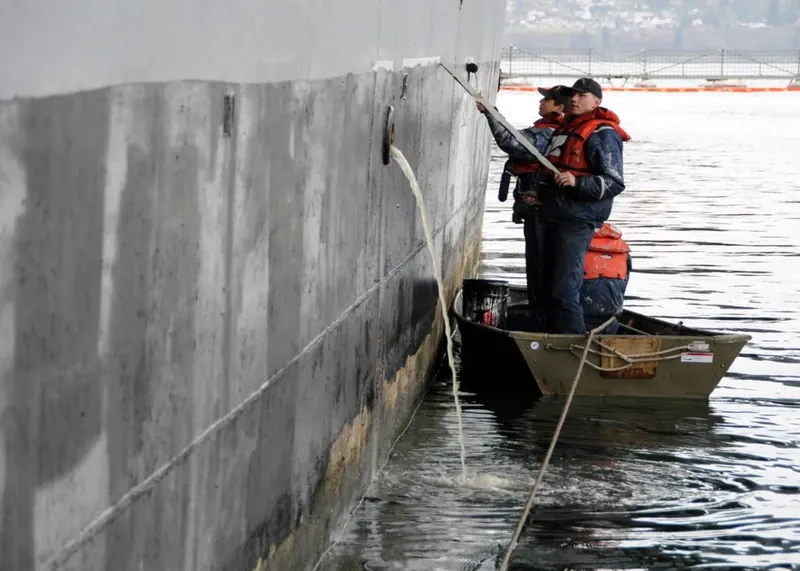
Measure wet film thickness while spraying, so you can correct it at once. After the coat is dry, measure dry film thickness (DFT) with a calibrated gauge and compare it with the specification. Too thin means a shorter life. Too thick can cause cracking or solvent trapping. Our guide to marine coating DFT inspection explains the method.
Treat every antifouling paint application stage as a hold point: no next coat until the reading is accepted. Record readings by hull zone: flat bottom, vertical sides, boot-top and rudder. Zones with high wear, such as the waterline, may carry extra thickness by design.
Step 7: Follow the recoat window and the weather
Every product has a minimum and a maximum time before the next coat. If you recoat too early, solvent is trapped. If you wait too long, the surface may need to be sanded or sweep-blasted for adhesion. The antifouling recoat interval between layers is therefore part of the daily plan, not an afterthought.
In UAE and Oman dry docks, hot steel and strong sun can shorten dry time and also cause overspray problems. Plan each antifouling paint application session for the cooler hours, protect the paint from rain or dew and keep a log of the actual times. For regional planning, see our dry dock paint planning guide for Duqm.
Step 8: Prepare for launch
Before the dock is flooded, check three things about your antifouling paint application. First, the minimum drying time before immersion has passed. Second, the maximum time to launch has not been exceeded. Third, all touch-ups from block removal and the shoring areas are completed and dry.
Safety and environment matter at this stage too. Keep overspray off the dock floor and the water, collect blasting waste and follow the local port and dry dock rules. Biocidal paints need correct handling, so workers must wear the protective equipment named in the safety data sheet. A tidy dock also speeds up the antifouling paint application itself.
Then close out the paperwork: paint batches, DFT readings, weather logs and the paint maker’s inspection notes. The antifouling used must also meet the IMO AFS Convention rules, and the ship’s anti-fouling system certificate or declaration must match the product applied. For background on the regulation, read the IMO page on anti-fouling systems.
Common antifouling paint application mistakes
Teams often lose the benefit of a good product through avoidable errors in antifouling paint application. Watch for these:
- Unwashed salt. Blisters and flaking appear within months.
- Missed stripe coats. Edges and welds foul and corrode first.
- Wrong recoat time. Peeling between coats follows.
- No DFT records. It is hard to prove a claim afterwards.
- Unchecked compatibility. Old coating and new antifouling do not bond.
Anyone asking how to apply antifouling paint correctly will find the answer is the same: follow the data sheet and record everything. If you are planning a dry-docking, ask your supplier for the full system data sheet, the application guide and technical support during the job. Contact our team for help with the specification.
Frequently asked questions
What is the correct antifouling paint application sequence?
The usual sequence is fresh water wash, blasting or spot repair of damaged areas, anticorrosive primer coats, tie coat, stripe coat, then two or more full antifouling coats. Dry film thickness is checked after each stage, and the ship is launched only after the minimum drying time in the data sheet.
How many coats of antifouling are applied on a ship hull?
Most systems use two full coats, often in different colours so the painter can see missed areas. Some specifications ask for a third coat on high-wear zones such as the waterline. The exact number and thickness come from the paint maker’s data sheet and your own coating specification.
How long should antifouling dry before launch?
The minimum time depends on the product, temperature and film thickness. It is set in the data sheet as a launch window between the last coat and immersion. Do not guess. In hot UAE dry docks the paint usually dries faster, but the maximum recoat and launch limits still apply.
What is the antifouling recoat interval?
The recoat interval has two parts. Between coats, the data sheet gives a minimum and maximum overcoating time. For the whole system, the interval is the planned dry-docking cycle, which depends on the paint type, trading pattern and speed. Always follow the maker’s stated service life.
Can antifouling be applied directly on bare steel?
No. Antifouling is not a corrosion barrier. Bare or blasted steel needs an approved anticorrosive system first, and a tie coat if the data sheet requires one. Applying antifouling over an incompatible or unprepared surface causes poor adhesion and early peeling.
Who should inspect antifouling paint application?
A qualified coating inspector, or the owner’s superintendent with the paint maker’s technical representative, should check the work. They record surface cleanliness, weather conditions, wet and dry film thickness and the time between coats. These records protect the owner if a claim is made later.
Get the right antifouling for your next dry-docking
Planning the next dry-docking and need a tin-free antifouling for your hull? Request a quote for Transocean Cleanship 295 (TO 2.95). Send us the ship type, hull area, trading pattern and dry-dock dates, and our team will help match the product, the quantity and the data sheet to your project.